
Let's see how to design a custom prompt for asking notification permission using Tailwind CSS.
Although you cannot replace the native permission prompt defined by the browser, it is usually recommended to use a double prompt for notification permission: first you display a custom prompt designed with HTML and CSS - or Tailwind CSS in this case - then, when the user expresses the intent to subscribe, you display the actual browser prompt.
This is useful for various reasons, including:
- you can control the exact appearance of the custom prompt
- you can give more information to the user about why they should subscribe to your notifications
- you can display the custom prompt multiple times (while the native prompt can be displayed only once)
- you can display the custom prompt at any time, including page load (while the native prompt requires a user interaction).
Tailwind is a flexible solution that allows to design components with any style, from simple to elegant, from minimalistic to brutalist. In this tutorial we'll focus on building a notification prompt with a native look, but this is just one of the possible solutions and you can easily adapt it to different styles, depending on your website and your intended audience.
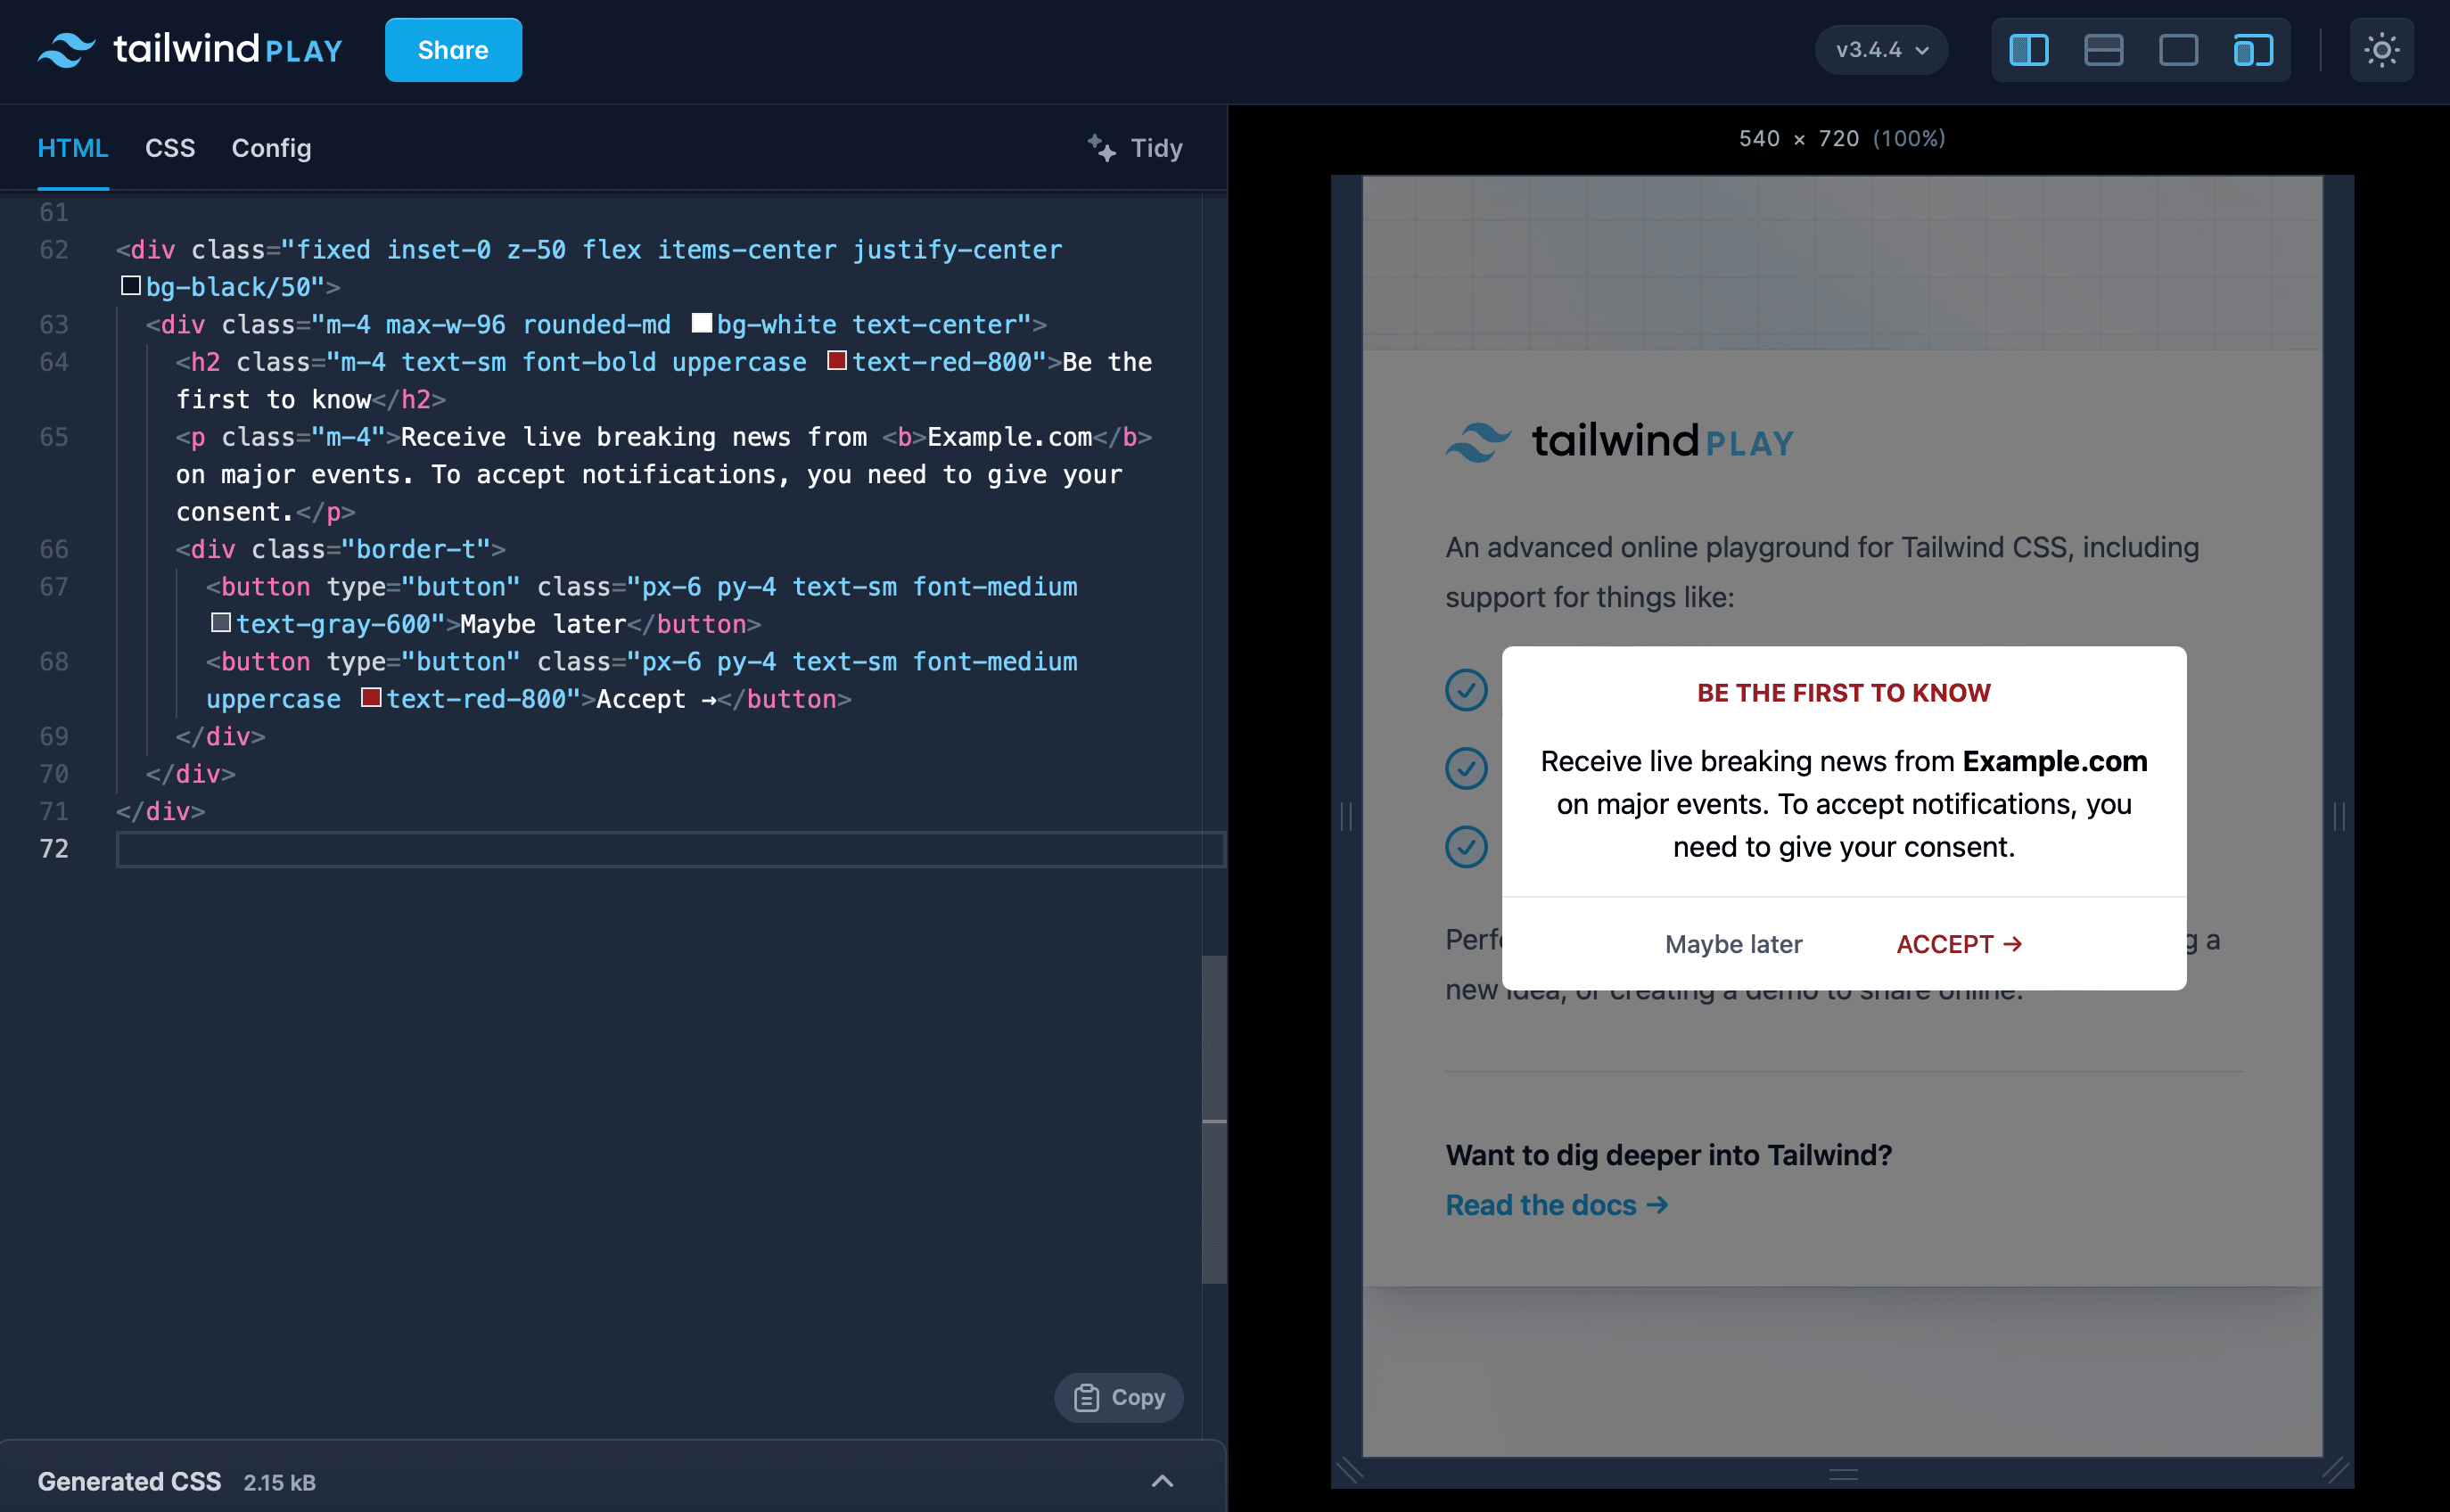
Here's the HTML with Tailwind classes to display a custom notification prompt with a modern, native look. We also used some red as the accent color - instead of blue - to give it an original touch.
<div id="notification-prompt" class="fixed inset-0 z-50 flex items-center justify-center bg-black/50">
  <div class="rounded-md bg-white text-center max-w-96 m-4">
    <h2 class="font-bold text-sm text-red-800 uppercase m-4">
      Be the first to know
    </h2>
    <p class="m-4">
      Receive live breaking news from <b>Example.com</b> on major events. To accept notifications, you need to give your consent.
    </p>
    <div class="border-t">
      <button type="button" id="notification-dismiss" class="text-gray-600 font-medium text-sm px-6 py-4">
        Maybe later
      </button>
      <button type="button" id="notification-accept" class="text-red-800 uppercase font-medium text-sm px-6 py-4">
        Accept →
      </button>
    </div>
  </div>
</div>
The code is self-explanatory. First we create a page overlay that has a dark background with some transparency and that also has the function to center the modal. Then there is the inner div which represents the modal, with some text and the buttons (dismiss and accept).
You can simply copy and paste the code into your website or open the Tailwind Playground to test it.
Now that we have the design for the custom prompt, we just need to add some JavaScript to actually display it and trigger the real permission prompt of the browser when the user clicks the Accept button. You can use plain JavaScript or your favorite framework. In this tutorial we will use the Pushpad JavaScript SDK, which is written in vanilla JavaScript and is compatible with all JavaScript frameworks.
These are the necessary steps:
- Determine if the user is already subscribed to notifications or not
- If the user is not subscribed, display the custom prompt built with Tailwind
- If the user clicks the Accept button, display the native browser prompt to obtain the permission for push notifications.
// on page load
document.addEventListener('DOMContentLoaded', function () {

  // PROMPT
  // is the user subscribed to notifications?
  pushpad('status', function(isSubscribed) {
    // if the user is not subscribed, display the prompt
    // NOTE: this assumes that you have added an "hidden" class to the notification prompt (the example above)
    if (!isSubscribed) {
      document.querySelector('#notification-prompt').classList.remove('hidden');
    }
  });

  // ACCEPT BUTTON
  // when the user clicks the accept button inside the prompt...
  document.querySelector('#notification-accept').addEventListener('click', function() {
    // try to subscribe the user to push notifications
    // this code displays the native permission prompt if necessary
    pushpad('subscribe', function (isSubscribed) {
      if (isSubscribed) {
        // the user has subscribed successfully and we can hide the prompt
        document.querySelector('#notification-prompt').classList.add('hidden');

        // you can also display a success message or configure some welcome notifications from the Pushpad dashboard
        alert("Thanks! You have successfully subscribed to notifications.");
      } else {
        // otherwise notifications are blocked from browser preferences
        // you can give some instructions to the users to change their browser settings
        alert("You have blocked the notifications from browser preferences, please update your settings and try again.");
      }
    });
  });

  // DISMISS BUTTON
  // when the user clicks the dismiss button inside the prompt...
  document.querySelector('#notification-dismiss').addEventListener('click', function() {
    // hide the prompt
    document.querySelector('#notification-prompt').classList.add('hidden');
  });

});
That's it! You now have a fully functional notification prompt on your website that you can easily customize and adapt to your specific design.